Introduction
The JDE Atina Build Manager is a web-based tool that generates the JD Edwards library artifacts required by the Atina JDE Microservice, directly from your browser. It replaces the jd-create-jar-files-1.2.0.jar command-line tool: instead of running a CLI on your own machine, you upload your JDE Deployment Server files to the tool and it builds the artifacts for you.
The Build Manager generates:
-
jde-lib-wrapped-{version}.jar— core JD Edwards interoperability libraries -
StdWebService-{version}.jar— standard JD Edwards web service wrappers -
JDEAtinaOverrideServicesConstants-{version}.jar— local override of web service properties, avoiding the need to modify JDE configuration -
service-constants.properties— configuration properties for the microservice -
IntelliJ Workspace — a Maven project with organized Web Service sources, for development
Getting Started
Step 1 - Request Access
-
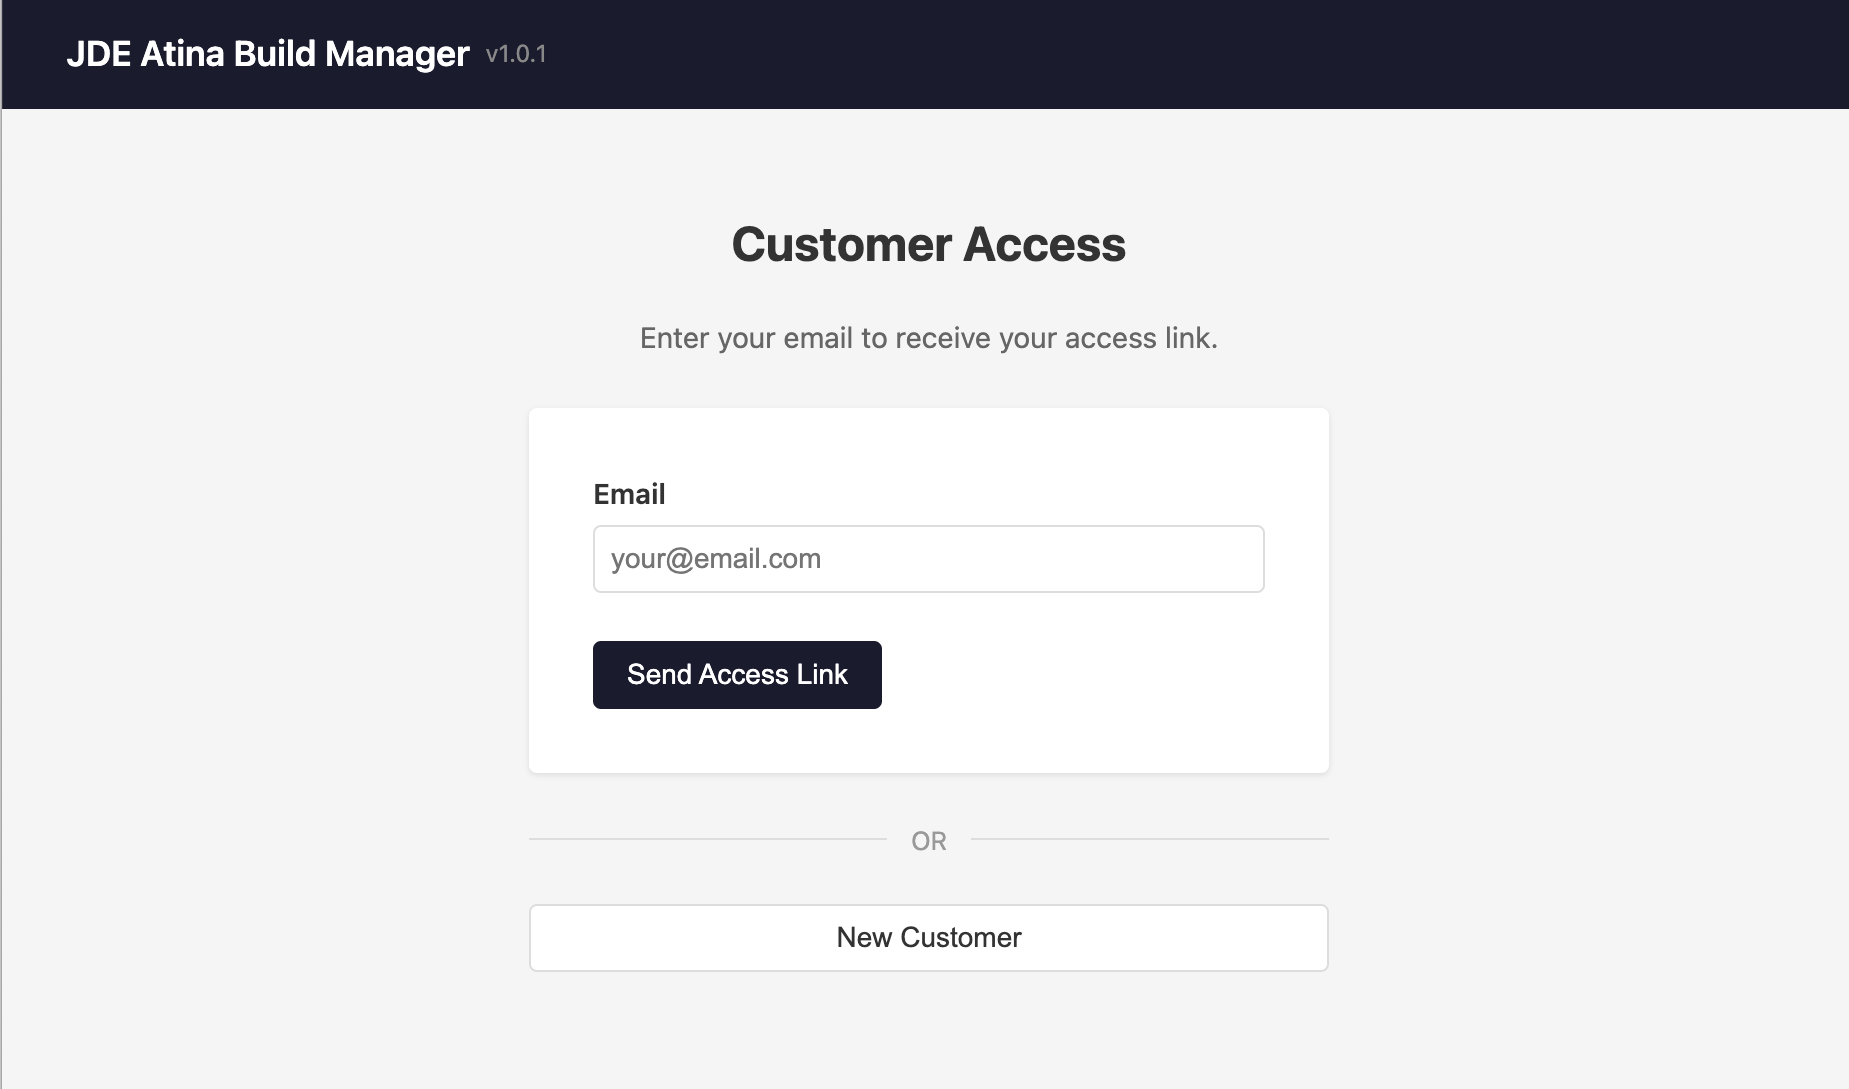
If you are a new customer, click New Customer.
-
Enter your Company Name and your corporate email address, then submit the form.
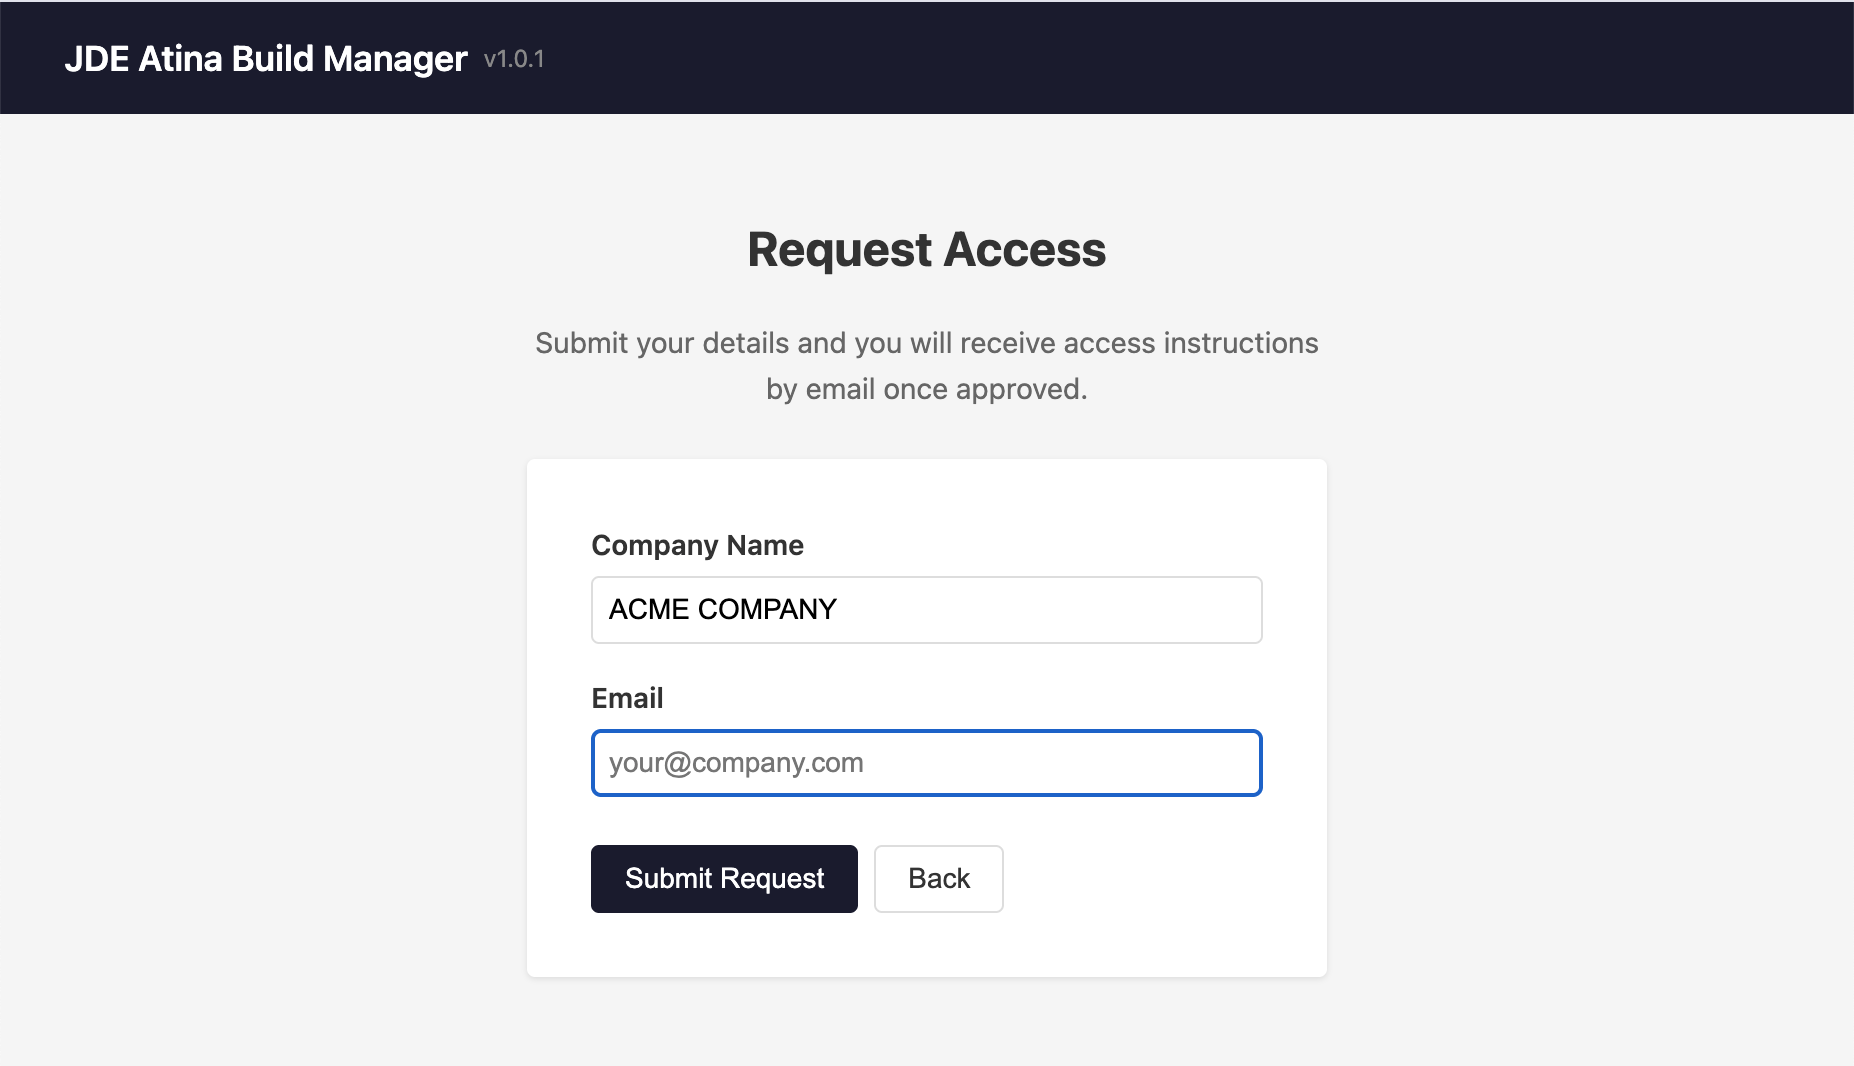
You will see the following confirmation message:
Your request has been submitted. You will receive access instructions by email once approved.
Step 2 - Wait for Approval
Once Atina approves your request, you will receive a Welcome email confirming that your account is ready to use. This email includes your personal access link, for example:
http://builder.atina-connection.com/c/2c017799-08d7-8936-ae4d-Xbbbb5615304|
This link is permanent and unique to your account — bookmark it, as it is how you will access your dashboard every time. |
Already Have Access But Lost Your Link?
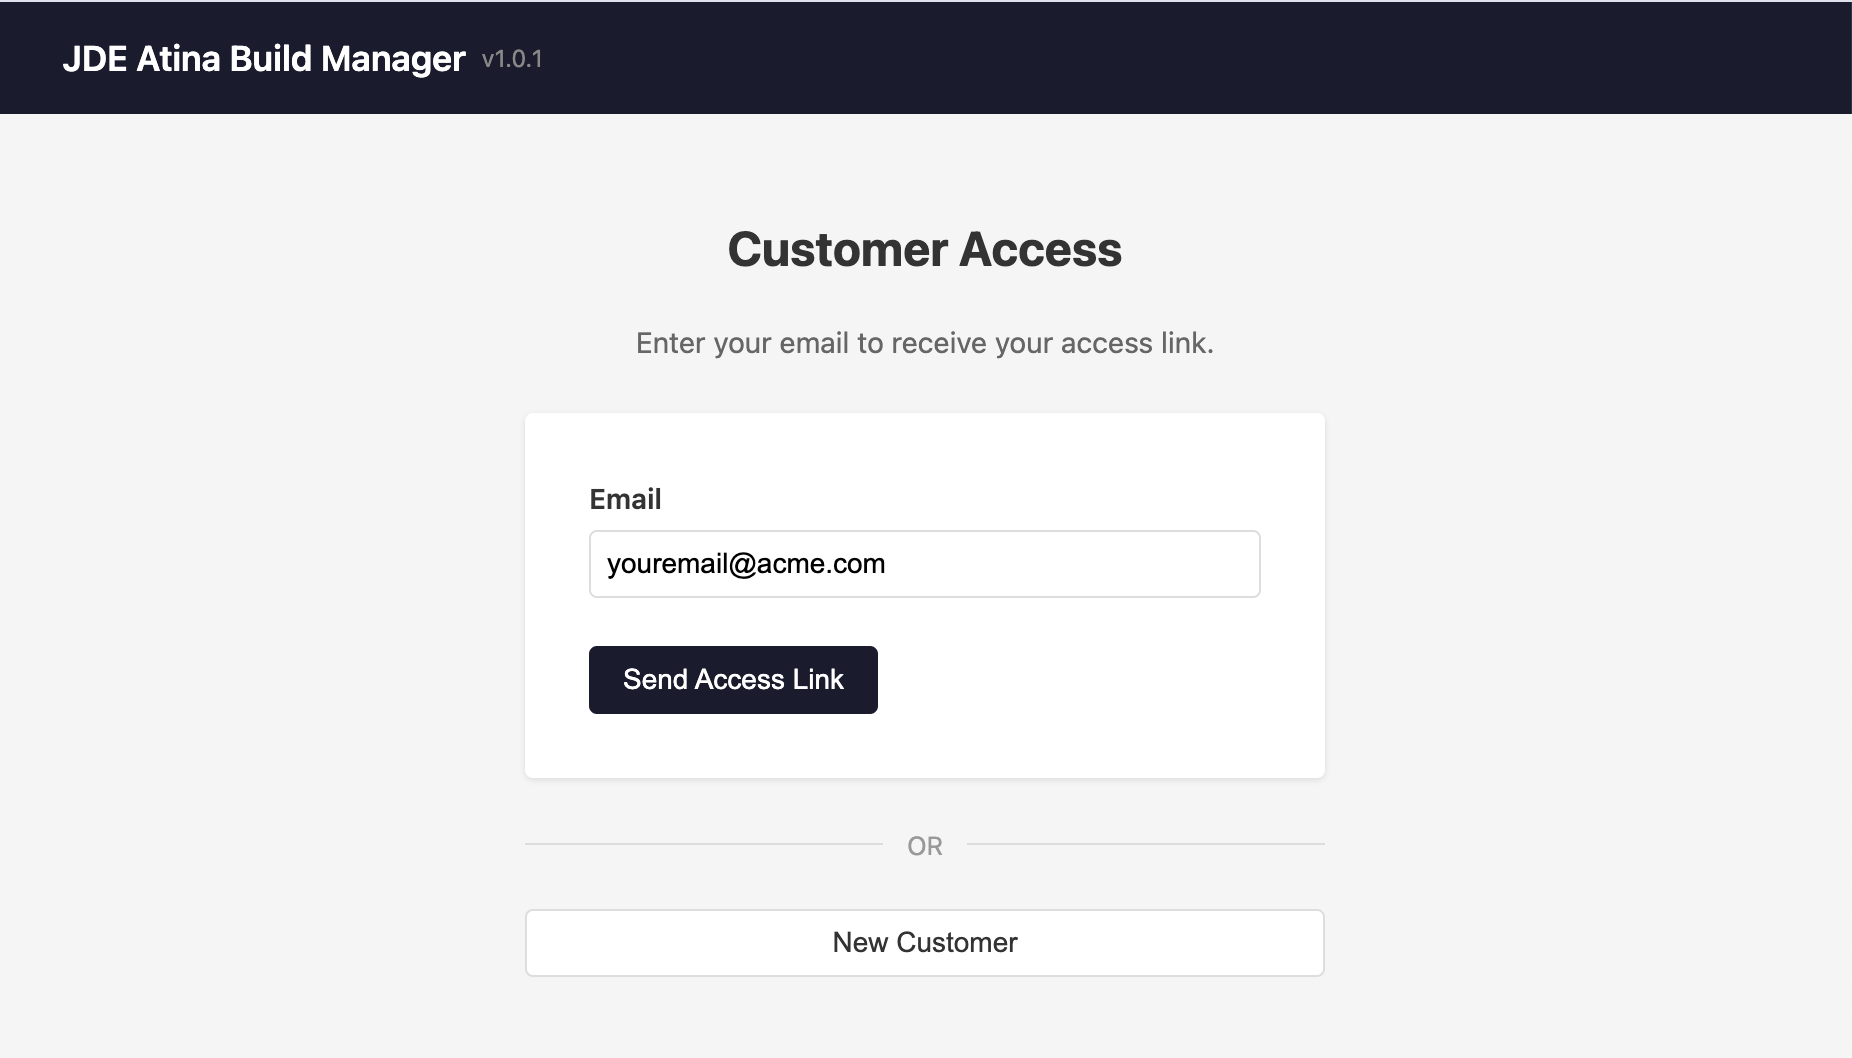
If you already have an approved account but cannot find your access link, go back to builder.atina-connection.com, enter your email address in the field provided, and click Send Access Link. You will receive your link again by email.
Using Your Dashboard
Open your access link to reach your personal dashboard. No separate login or password is required — the link itself identifies your account.
Step 1 - Upload Your Files
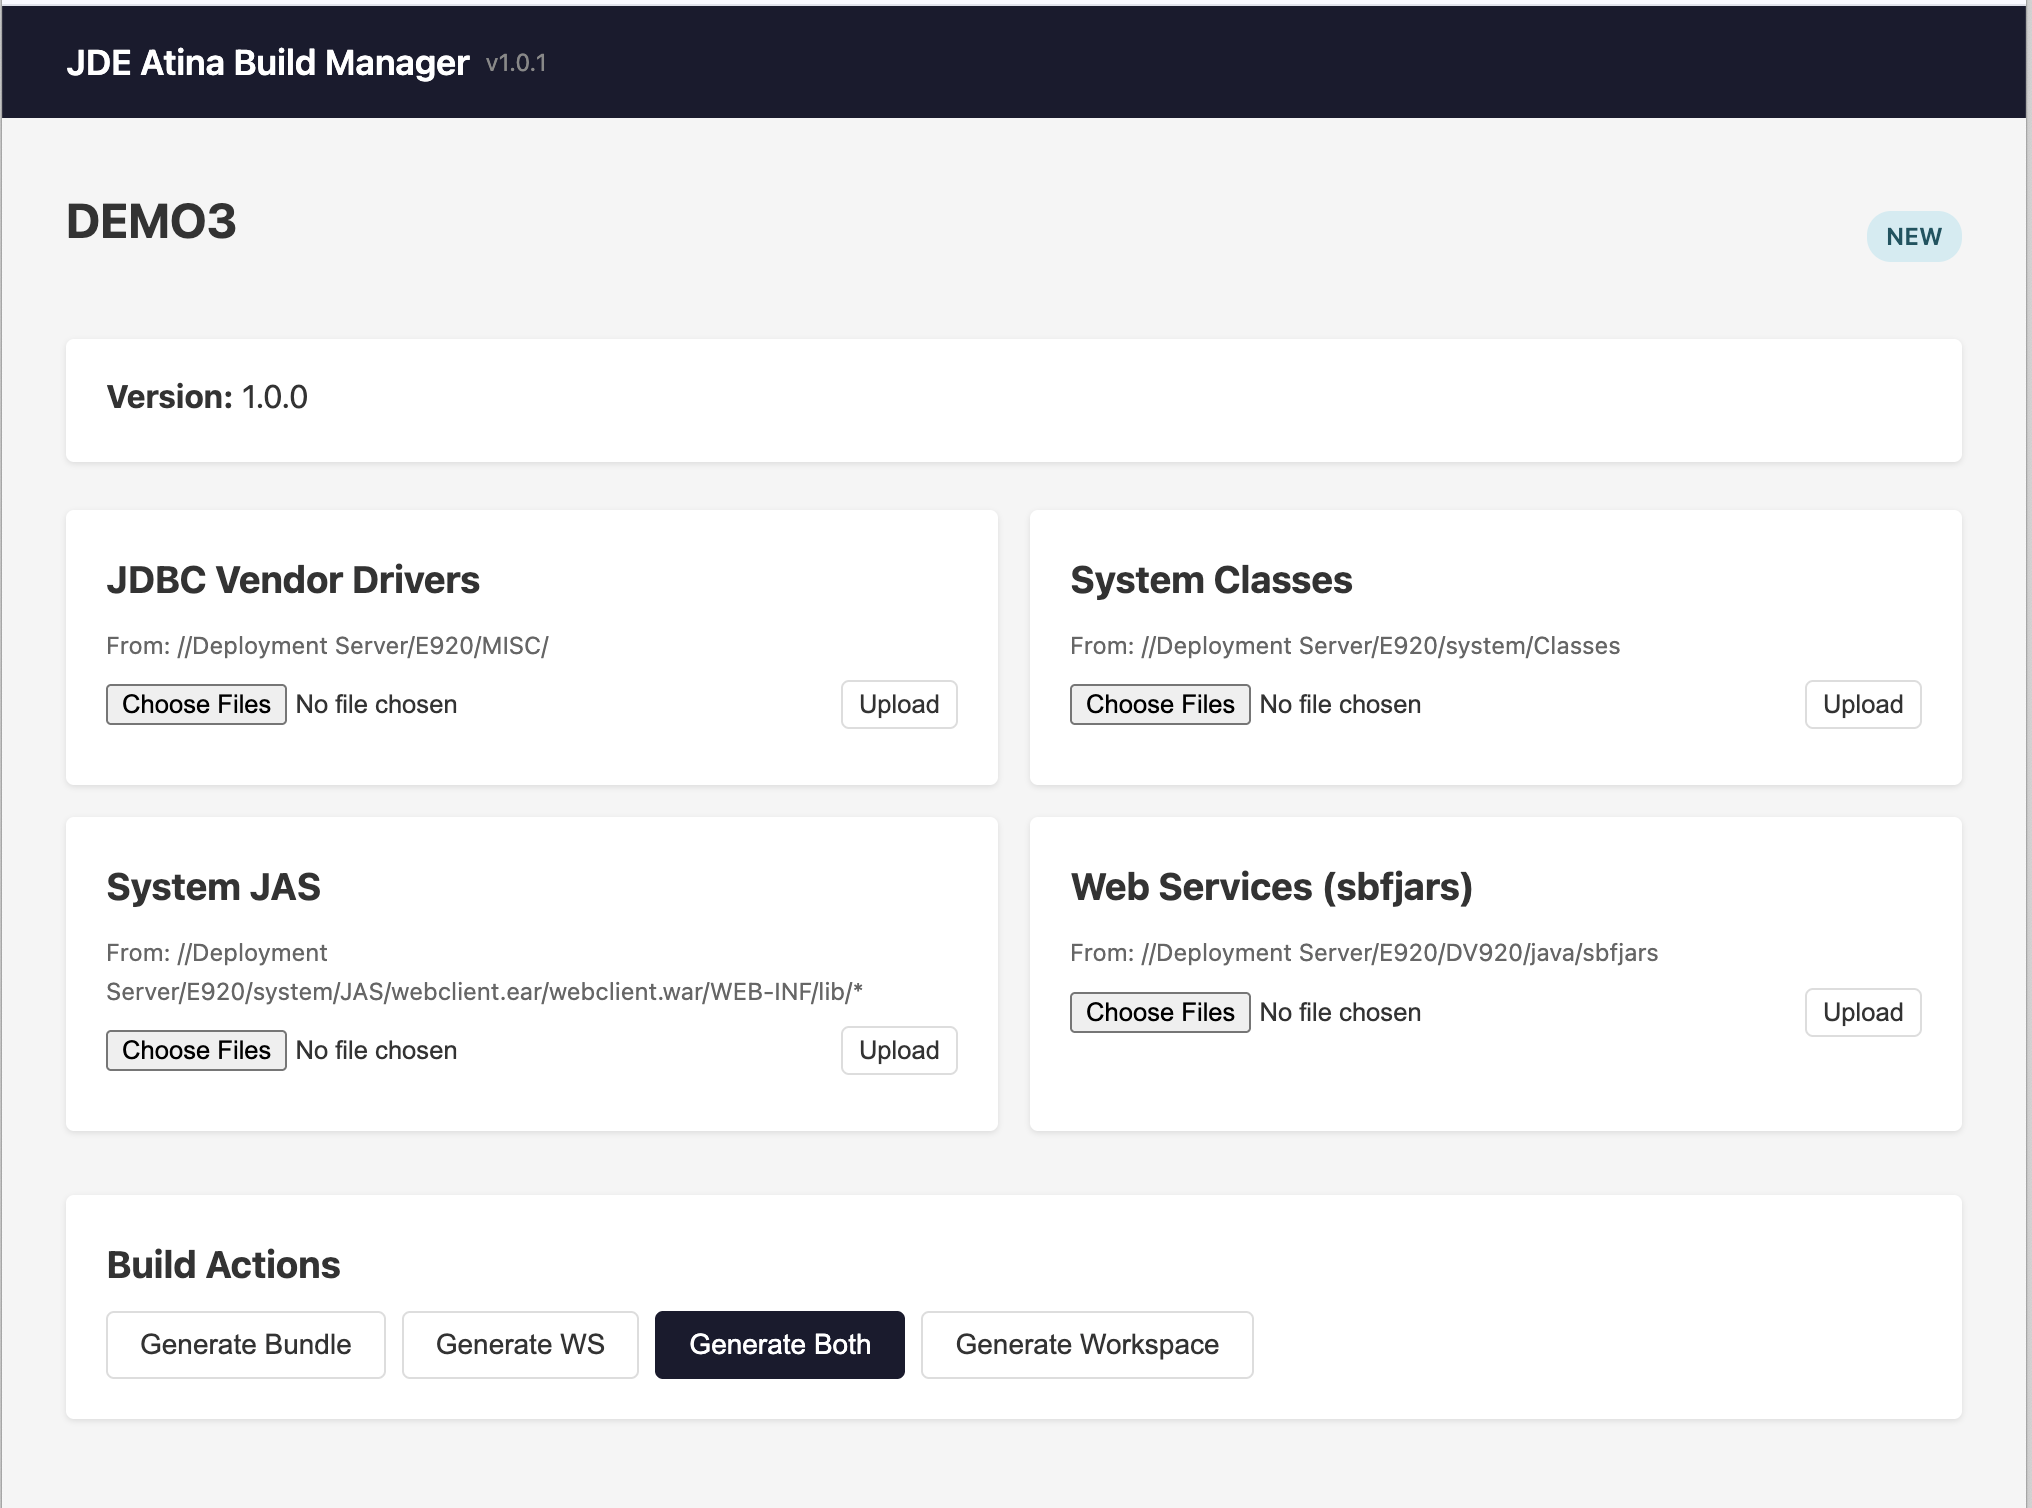
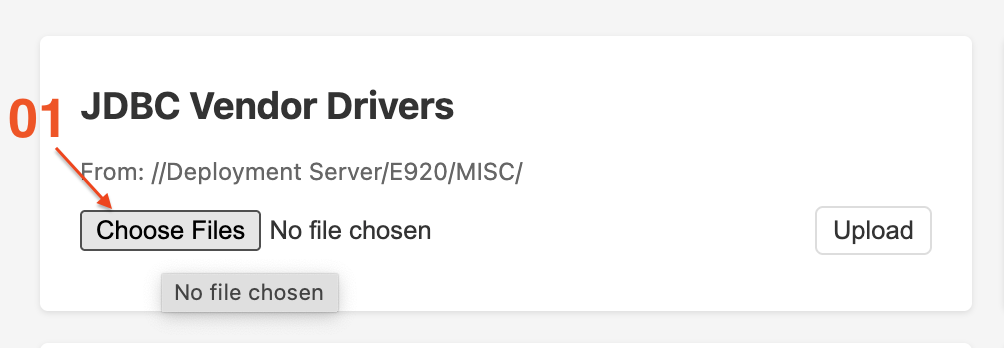
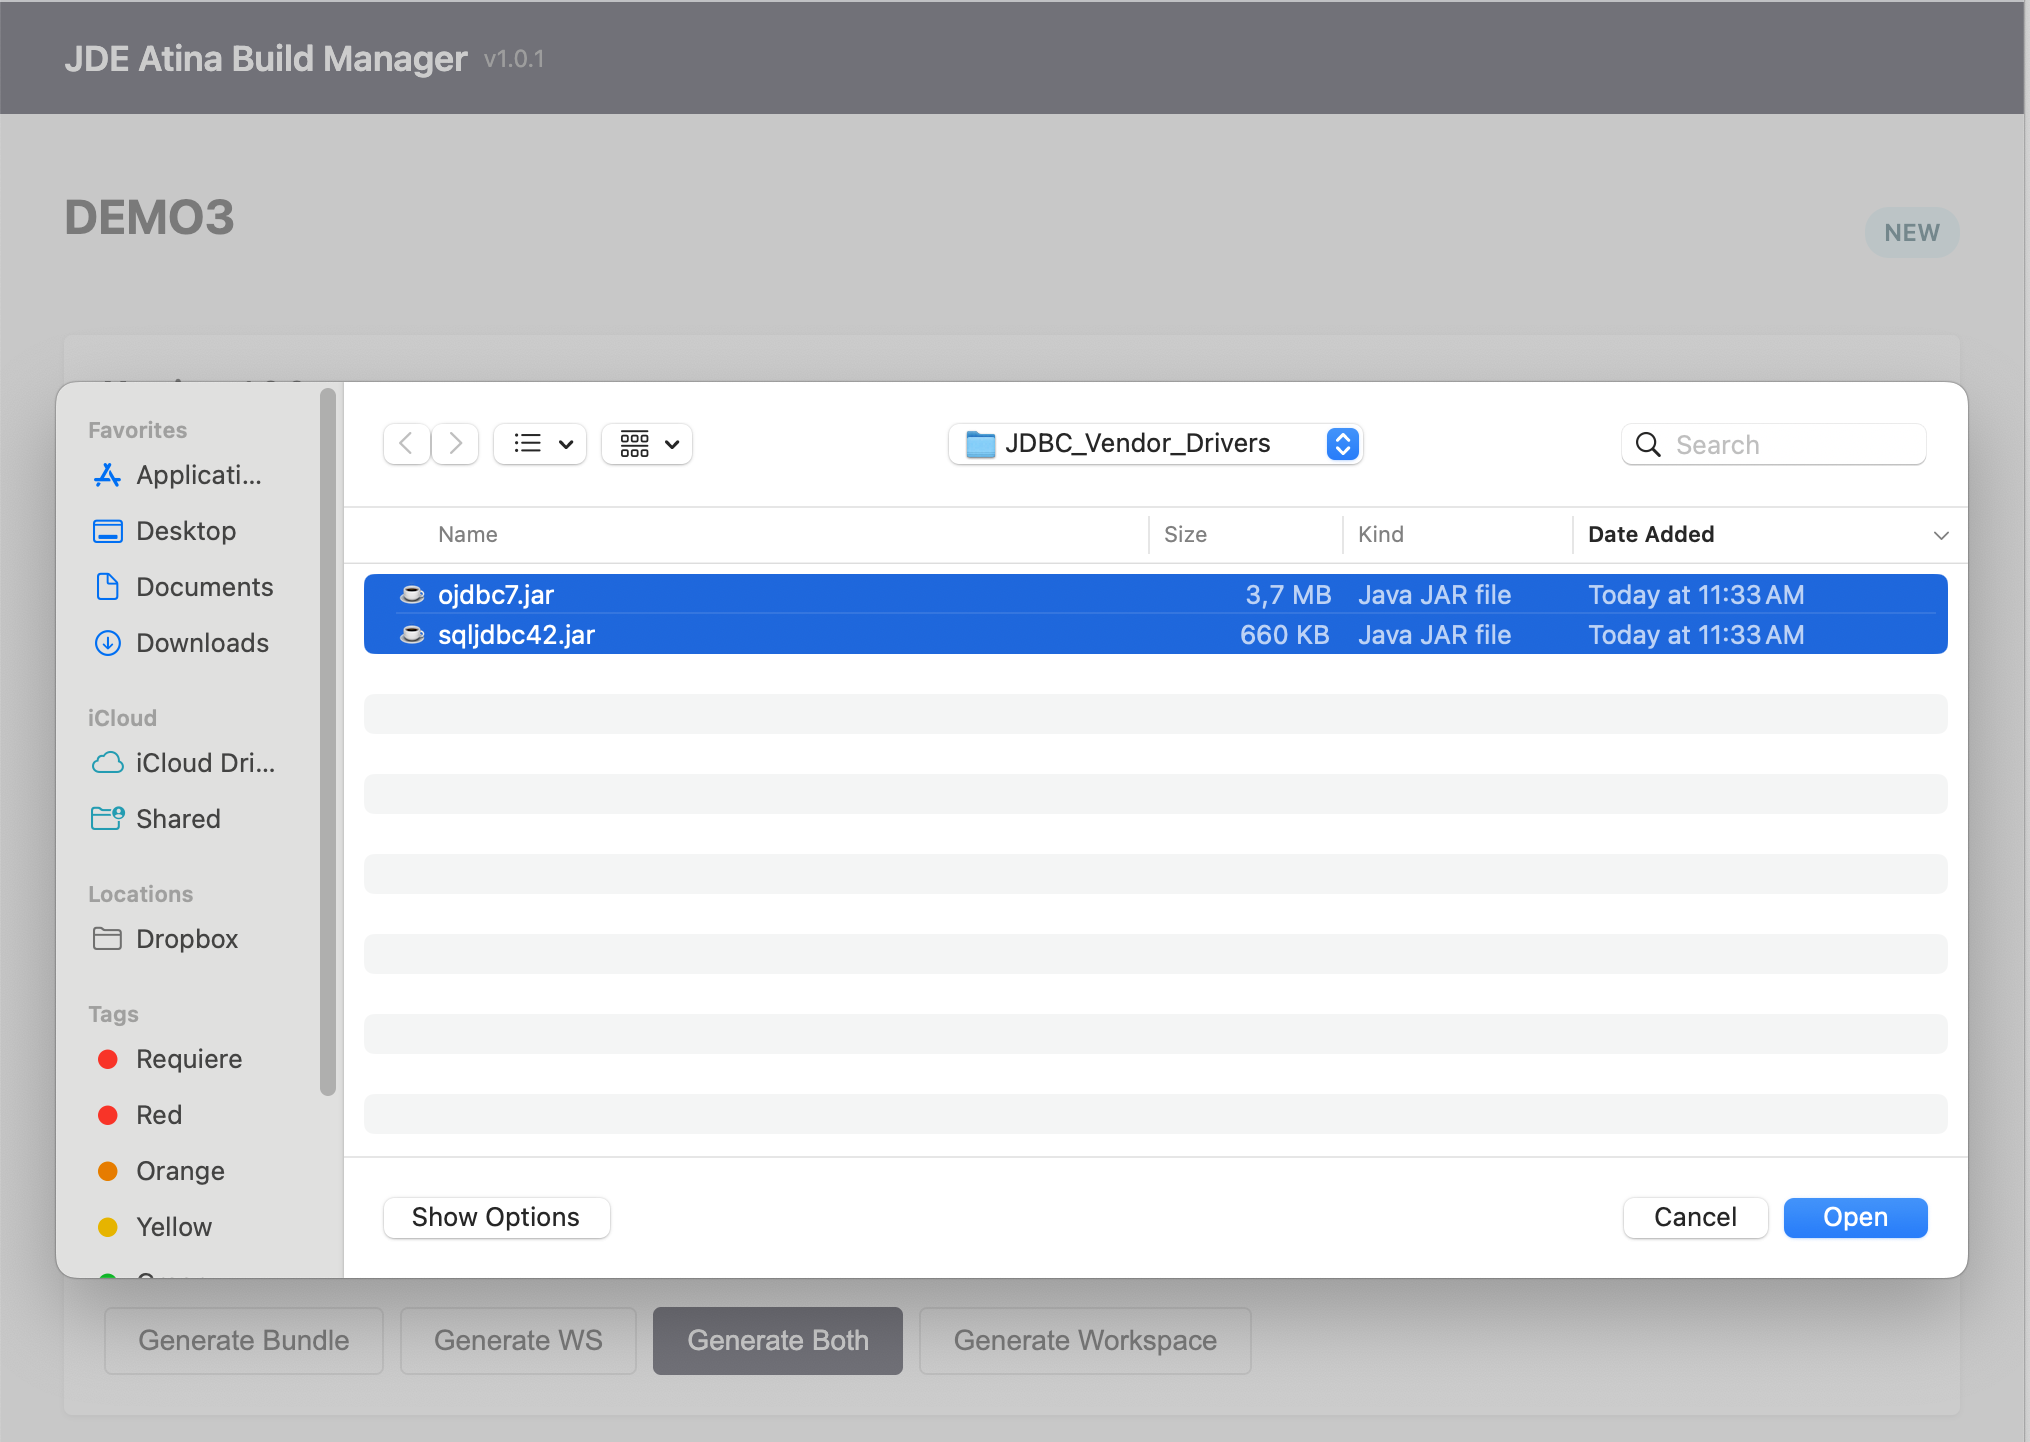
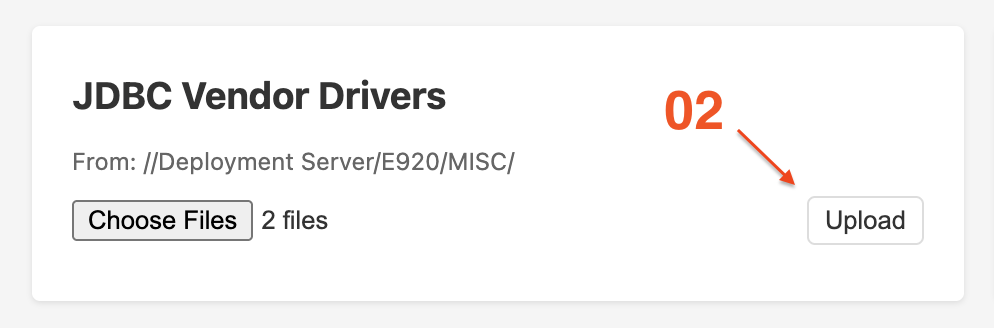
Upload the JAR files from your JDE Deployment Server into the matching section of the dashboard:
| Section | Where to find it on the Deployment Server |
|---|---|
JDBC Vendor Drivers |
|
System Classes |
|
System JAS |
|
Web Services (sbfjars) |
|
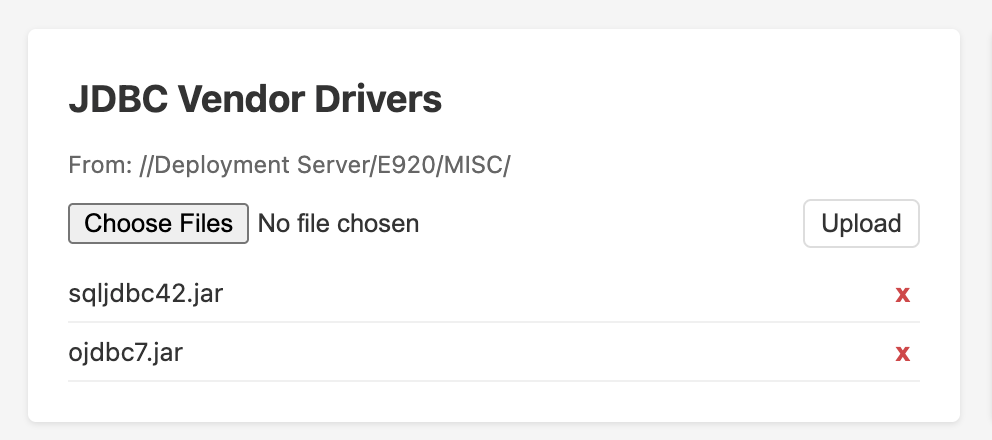
You can upload files in multiple batches. Each uploaded file appears in a list, where you can remove it using the x button if needed.
Step 2 - Run a Build
Once your files are uploaded, click one of the build action buttons:
| Button | What it creates |
|---|---|
Generate Bundle |
The JDE library bundle ( |
Generate WS |
The Web Service artifact ( |
Generate Both |
Both artifacts in a single run (recommended) |
Generate Workspace |
A Web Service workspace for development |

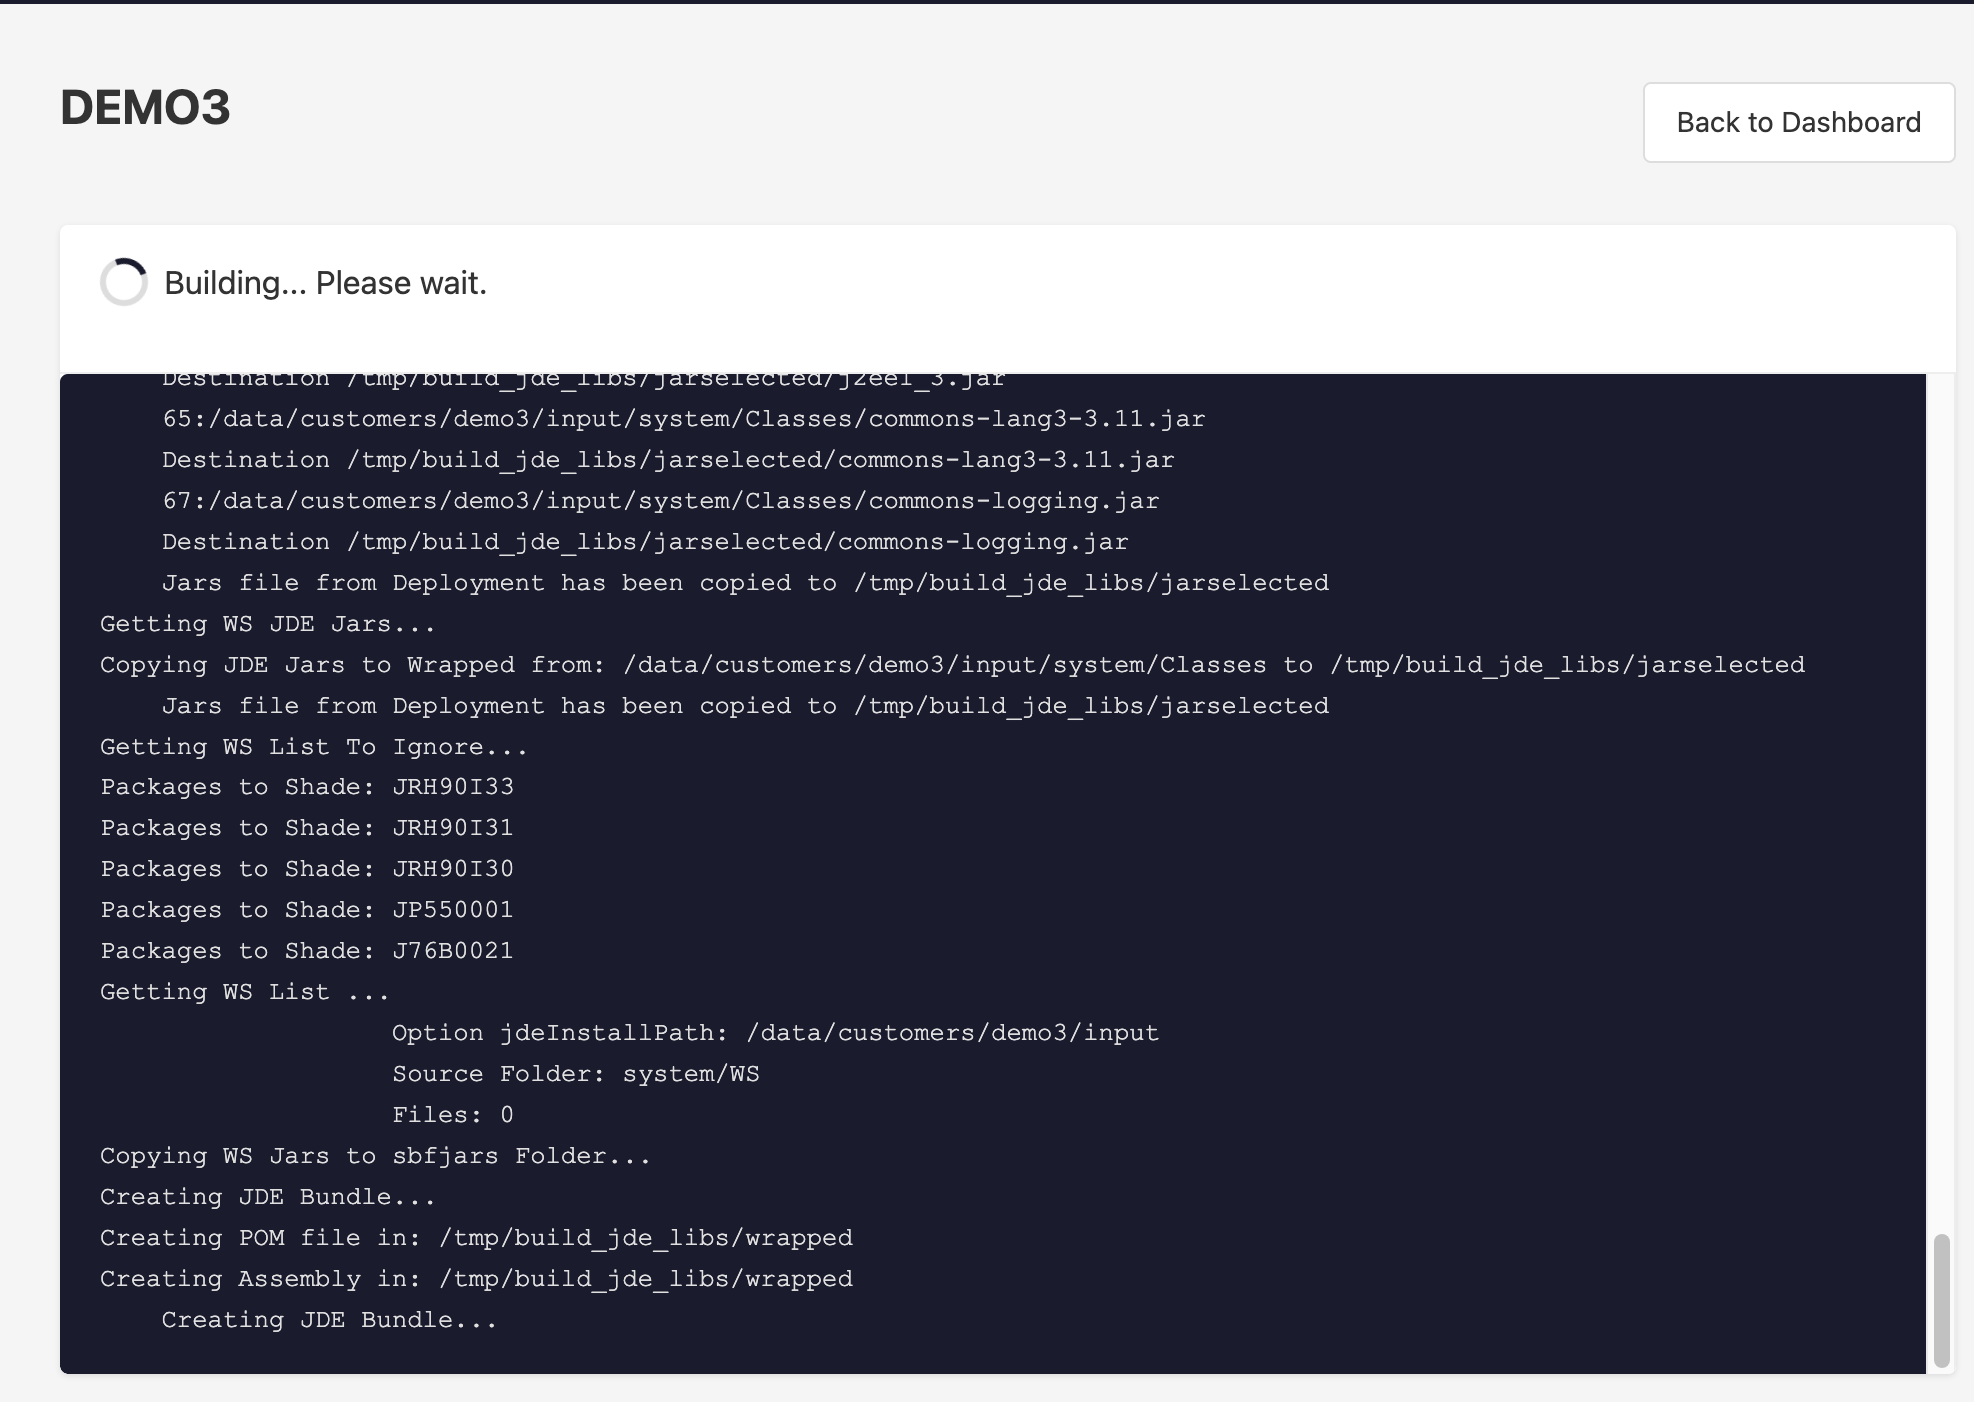
After clicking, you are taken to the build progress screen:
-
A spinner shows that the build is running.
-
The build log refreshes automatically every few seconds.
-
When the build finishes, a SUCCESS or FAILED badge appears.
Step 3 - Download Your Output
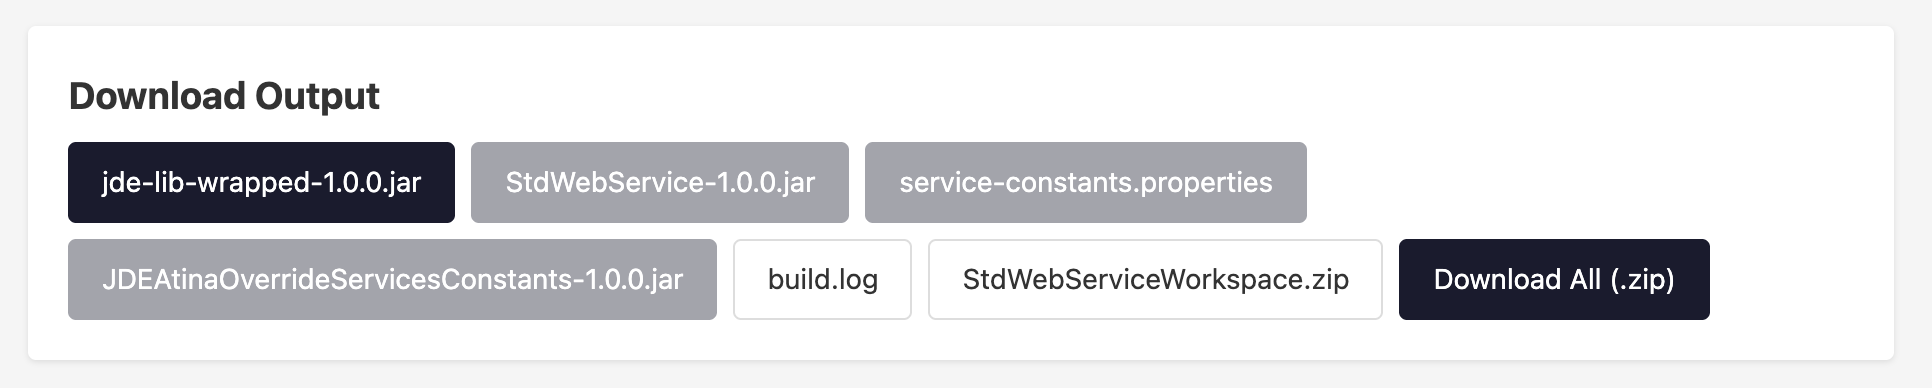
Once the build finishes successfully, download links appear on the screen. You can:
-
Download each generated file individually, or
-
Click Download All to get everything as a single ZIP file.
The build log is also available for download for reference.
Reprocessing (When Needed)
If you apply a JDE Tools Release or update your Deployment Server, you will need to regenerate the artifacts:
-
Open your access link again.
-
Upload only the files that changed — files you uploaded previously are kept and reused automatically.
-
Click the build action you need.
-
Download the new output.
Support
If you have any questions or need assistance, contact support@atina-connection.com.